


November 10, 2026
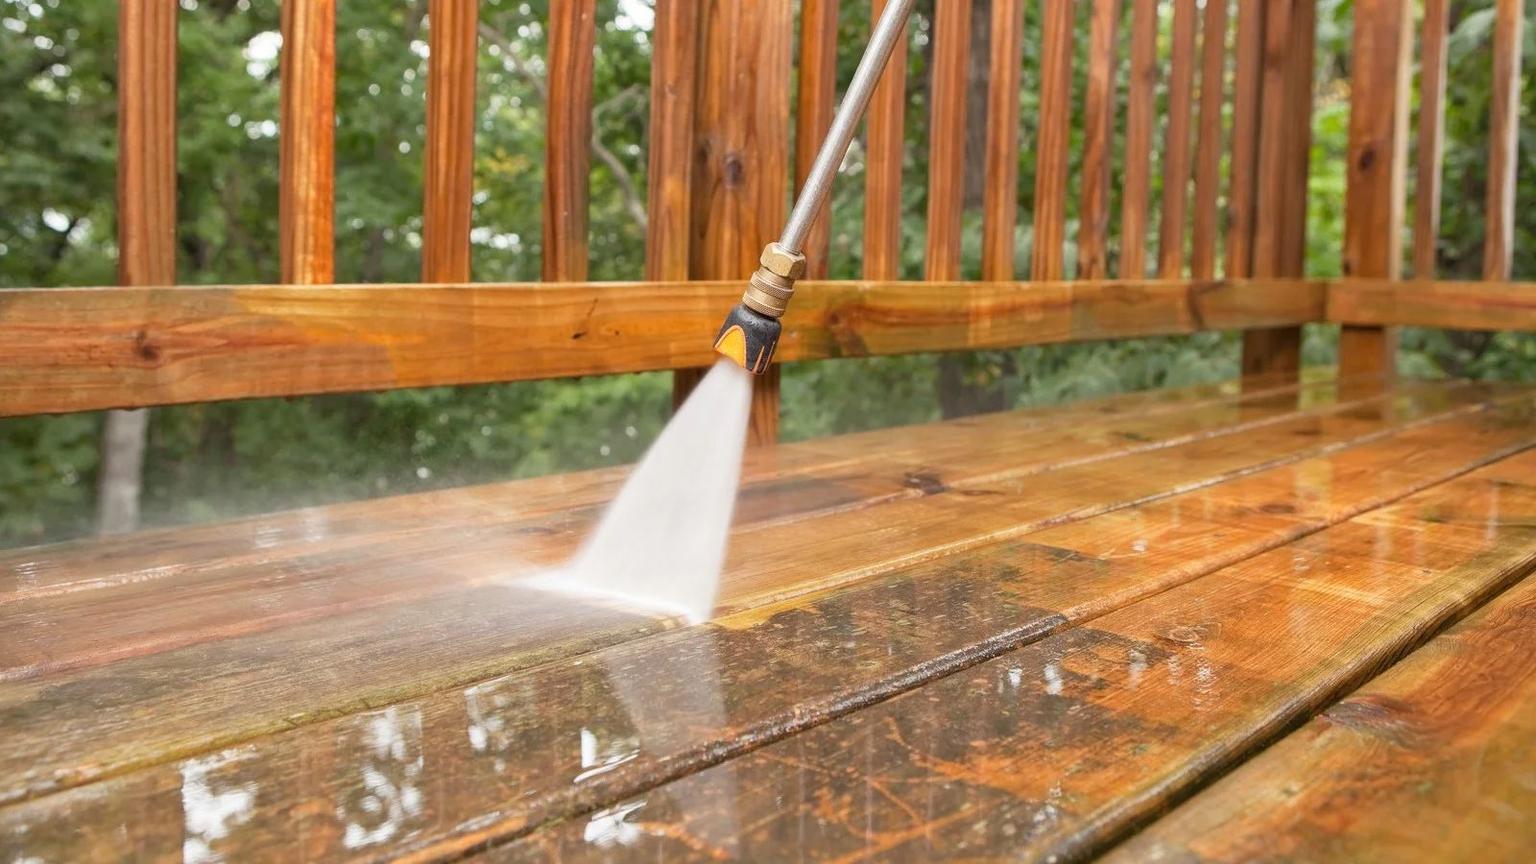
Yes, you can pressure wash a wood deck, but start with a wood-safe cleaner and the lowest effective rinsing pressure. Test a hidden spot with a 40-degree fan tip first, and never use a 0-degree nozzle on wood.
On shaded North Jersey decks, damp boards and trapped leaves help slippery green growth spread. Extra pressure only adds damage risk: cedar needs the gentlest touch, and weathered pressure-treated pine can also splinter or gouge. Our pressure washing vs. soft washing guide shows where each method fits.
Your deck’s wood, finish, and condition should guide the cleaning method, since no single PSI setting suits every deck.

How to Pressure Wash a Wood Deck Safely
Before you pressure wash deck boards, find out what’s making them slippery. Leaves stuck between boards trap moisture. Shade, north-facing decks, and limited airflow slow drying, giving algae and mildew a place to grow. Clear leaves and other debris from the surface and board gaps regularly.
Remove the slick film - not just the discoloration. Algae, mildew, and mold can leave a slippery layer that’s especially hazardous when wet. A wood-safe cleaner and a low-pressure rinse help lift that film without tearing the wood fibers, similar to the house washing techniques used for siding.
Once you’ve cleared enough debris to see the wood, check whether it can safely handle washing. Inspect deck boards, stair treads, railings, and connections. Look for lifted or splintered boards, loose nails or screws, soft spots, rot, and loose railings. Note any peeling stain or worn finish, too.
Cleaning doesn’t make unsafe wood safe. Repair loose boards, address rot, and secure unstable railings before washing. Water pressure can catch loose edges and make existing damage worse.
Pressure-treated pine is softer than many deck owners expect. Cedar is softer still. Both need a wood-safe cleaner and very low rinsing pressure to avoid damage.
| Wood type | How easily it can be damaged | Primary concern | Appropriate approach |
|---|---|---|---|
| Pressure-treated pine | Easily, especially when weathered | Uneven cleaning on worn boards | Use the lowest effective rinsing pressure |
| Cedar | More easily than pine | Delicate surface grain | Let the cleaner do the work rather than relying on water force |
There’s no single safe PSI setting. The right pressure depends on the spray tip, distance from the boards, equipment, and wood condition. Follow the cleaner label, pressure washer manual, and deck maker’s instructions. Since board condition affects the results, test a small area before cleaning the whole deck.
Choose a hidden spot, such as a back corner or stair tread. Apply the wood-safe cleaner as directed, then try a low-pressure rinse with a wide fan spray, such as a 40-degree tip. Start far enough from the boards to avoid cutting the grain, and make smooth passes in the direction of the grain.
Take extra care with older cedar and weathered pine. Don’t move the nozzle closer to chase a stain. Stop if the surface starts to fuzz, splinter, or etch.
If wood fibers lift, let the boards dry fully before staining.
For a shaded North Jersey deck, use low pressure only after the wood passes a test patch. Move furniture, grills, and planters out of the way, then work in small sections. Pre-wet nearby plants and grass, and cover electrical outlets and outdoor light fixtures.
Apply a wood-safe cleaner at the dilution listed on the label. Let it sit for 10–15 minutes, following the label’s directions. Keep the surface damp, stay out of direct afternoon sun, and lightly mist the wood as needed. Don’t let the cleaner dry on the wood.
Rinse with a wide fan tip (25 to 40 degrees). Hold the wand 8 to 12 inches from the surface, and use smooth, overlapping passes along the grain. If green buildup remains, apply the cleaner again instead of increasing pressure. Stop and reassess if the wood fuzzes, softens, or still holds green buildup. Finish by rinsing nearby plants and soil to flush away chemical runoff.
Stop washing and get a professional assessment if you find extensive organic growth, soft or splintered boards, or an unknown finish. Elevated decks and failed test patches also call for an assessment. A professional should check whether the deck needs cleaning or repair.
For help, see Gutter Boys’ patio and deck cleaning service. You can also read whether professional house washing is worth it in North Jersey, but house washing techniques differ from wood-deck care.
Let the wood dry fully before applying any stain or finish.
Yes, you can pressure wash deck boards with a wood-safe cleaner and a low-pressure rinse. Cedar needs the gentlest touch. Stop immediately if a test patch shows raised fibers, gouges, etching, or wand marks. Our soft washing vs. pressure washing guide explains how the two methods differ.
Let the wood dry fully before staining. Drying time depends on weather, shade, wood condition, and trapped moisture. Check shaded boards with a moisture meter, since the surface can look dry before the wood is. Aim for moisture content below 12% unless the stain maker’s directions say otherwise.
Gutter Boys offers patio and deck cleaning in North Jersey, covering decks, patios, and walkways.
Green buildup is usually algae or mildew. It grows in damp, shaded spots where pollen and leaves collect. Sweep your deck every few weeks and clear the gaps between boards to reduce the moisture and debris that help it grow.
Professional deck cleaning uses specialized solutions to remove algae and mildew. These treatments help keep growth from returning quickly, working better than high pressure alone.
Fuzzy deck boards happen when too much pressure - or a nozzle held too close - lifts the wood fibers. Let the wood dry completely before sanding or staining.
Use 60- to 80-grit sandpaper with a random orbit sander on deck boards. For handrails, choose finer sandpaper, at least 100-grit. Sanding smooths the surface and helps open the wood’s pores so stain or sealer absorbs more evenly.
Aim for wood moisture content below 12%, but always follow your stain manufacturer’s requirements. Let the deck dry completely before applying stain or sealant. This helps the finish absorb properly and prevents peeling or poor adhesion. Drying time depends on local weather and the product’s instructions.

